AI‑Assisted Workflows: How I Built MeshRx for 3D Model Repair
A workflow utilizing AI coding tools that has worked for me, and maybe 🫵 too!
David is driven by a passion for discovery and believes that innovation thrives on collaboration and continuous learning. As a recognized thought leader, he contributes to industry advancements through conferences, open-source projects and strategic partnerships. With over 15 years of experience, David has deep expertise in software development, cloud platforms, and designing cutting-edge systems. Known for mentoring fellow technical leaders, he plays a key role in fostering growth and excellence across the organization. Outside of work, David is a hands-on creator, enjoying 3D printing, CNC, laser cutting, and woodworking in the small town of Floyd, VA with his wife and four kids. His love for making reflects his innovative spirit—always exploring and pushing boundaries.
Background
As with many of the things I learn, I get just enough training to be dangerous and then use practical side projects to actually get my hands dirty. If you haven’t seen my interactive Christmas trees or the Pumpkin King, those are examples of how I use real-world problems to actually build with things I’m learning. If it’s a complete flop, I just move on to the next project. AI tooling is no different…
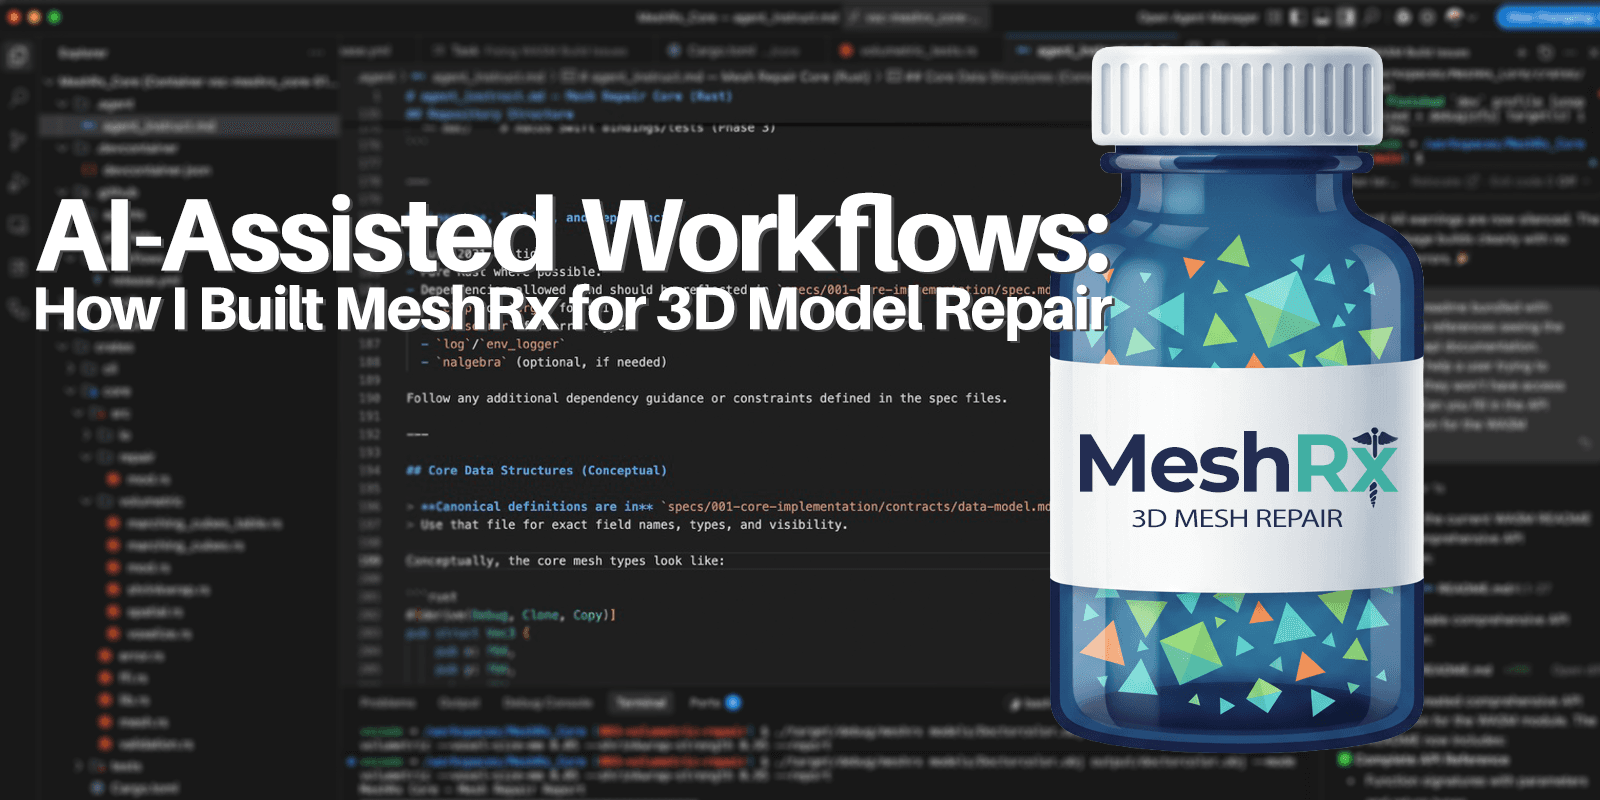
I’ve been working on a few side projects and trying to get my AI tooling workflow dialed in through them. One of those is MeshRx, a Rust-based utility for applying common fixes to 3D models. The side project itself isn’t the focus of this post, but the workflow behind how I developed it is.
It’s important to note that I have built many things in C++ but have only played with Rust. So this is a newer language to me. I also have extensive knowledge of 3D modeling and CAD software engineering, so I understand the processes that need to be applied to fix model issues.
It all starts with a conversation
It all started as a conversation with ChatGPT about the need for this kind of utility and examples of how meshes can be broken. I researched existing tools and open-source utilities, and coming off the success of mat2vert.magician.dev, I knew I wanted both an online repair tool and a macOS tool for bigger or more complex files. Bambu Studio and other slicers don’t have repair functionality built in, and it often leaves people searching for solutions. This was my niche.
Knowing this, ChatGPT and I picked the language and frameworks to accomplish our goals, then set out to break the project into phases that I could further chunk with speckit. ChatGPT already knows my coding style but we chatted through the important bits so it understood what I wanted out of each “Phase”… Small, testable steps to build a larger system.

After breaking down the project with ChatGPT, I had it output an agent_instruct file I could use to initialize the repo. This file is similar to .agent or .claude but is a format that I’ve come up with to describe the basic project architecture, coding styles, etc. Here’s a snippet from that output:
# agent_instruct.md — Mesh Repair Core (Rust)

## Context

You are building the **core geometry/repair engine** for a cross-platform mesh repair tool, written in **Rust**.

The long-term product has **three layers**:

1. **Core Rust library (this project, Phase 1)**
   - Rust crate providing robust mesh loading, repairing, and saving.
   - Exposes a clean, idiomatic Rust API for internal use.
   - Also exposes a small, C-compatible FFI API for use by other layers.

2. **WebAssembly frontend (Phase 2, separate package)**
   - Browser-only, privacy-preserving tool (no servers; all processing in the client).
   - Uses the Rust core compiled to **WebAssembly** (via `wasm-bindgen` / `wasm-pack`).

3. **macOS app (Phase 3, separate project)**
   - SwiftUI app for macOS (Intel + Apple Silicon).
   - Links against the Rust core as a `cdylib` / `staticlib` via C FFI.
   - Provides a friendly GUI for large or complex meshes.

You are currently responsible **only for Phase 1 (Core Rust crate + CLI + FFI hooks)**, but you must design the core so it can be safely reused by the WebAssembly and macOS projects without major refactors.

---
...
---
## Language, Tooling, and Dependencies

- Rust 2021 edition.
- Pure Rust where possible.
- Dependencies allowed (and should be reflected in `specs/001-core-implementation/spec.md` and contracts):
  - `clap` or `argh` for CLI
  - `thiserror` for error types
  - `log`/`env_logger`
  - `nalgebra` (optional, if needed)

Follow any additional dependency guidance or constraints defined in the spec files.

---

## Core Data Structures (Conceptual)

> **Canonical definitions are in** `specs/001-core-implementation/contracts/data-model.md`.
> Use that file for exact field names, types, and visibility.

Conceptually, the core mesh types look like:
...
I keep this file at the root of the repo in a folder called .agent, and I’ve added that folder to the search paths for all my AI tooling. For example, I symlink .claude.md to this file, and I update the Copilot VS Code instructions so they look in .agent as well.
If the file gets too long or too detailed, I split it into smaller pieces (project_arch, coding_guidelines, feature_xxx, etc.) and then reference those from the main agent_instruct file. I’ve found that most coding tools can pull in extra files as needed, and when instructions get long, they tend to follow smaller, more focused documents much better than one giant one.
So with my agent_instruct and basic repo initialized, I then set out to define the work to be done in the first phase.
Use SpecKit to really define the work to be done
From there, I used Speckit to further break down the initial phase (the Rust CLI). I used GitHub Copilot with Claude and Speckit to do this. Working through the plan, research, and tasking really helped me hone in on what we were trying to accomplish. Phase I was intentionally narrow: close holes in models naively through a Rust CLI. On the side, I had been requesting several files from various 3D printing Discords that I could use as tests… Having these and making sure the spec used those specific files ensured I had a good base for phase I.
The coding model would know explicitly what I wanted through the spec framework, it had extra guidance it could access through the agent_instruct file, and it had known bad files to test against. I was feeling pretty confident.
Up to this point, no actual code had been produced. It was just conversations with different LLMs at different scopes (high-level project overview vs. detailed spec definition). Now that I was confident in what we were building and confident that it was all documented it was time to let yet another model loose on the codebase.
Use a big model to do the heavy lifting
I’ve used Speckit implemented in Copilot, and while it does perform rather well, I’ve found that using Claude CLI or Codex (my go-to) is better at following the instructions and getting more of the generated code right the first time. I always have to go back to Copilot or smaller models for the more interactive troubleshooting that follows, but for the big swath of code gen, I’ll typically use Codex.
That being said I was recently in some lives with AI coders from around the world that was singing Gemini Pro 3’s coding capabilities and they had just released Antigravity so I decided to give Antigravity a try. I must say I’ve been pleasantly surprised… It was a bit of a curve to get devcontainers and other integration I come to expect by default in VS Code configured. But once that was done I found it to be a pretty decent IDE… it is essentially VSCode after all.
Its direct integration with VS Code actually made for some really fun experiences: presenting a plan in the main editor, taking over the terminal, managing the file system, even using checkboxes in the editor window and ticking them off as it went. I basically pointed it to the spec and agent_instruct and told it to complete phase I.
After a bit, Phase I was completed. There were bugs, and I iteratively swapped between Gemini Pro 3 and Copilot with Claude to resolve them. Having the sample models really helped here as I could test and load the output in Bambu Studio. But overall, the experience was smooth!
Yes, one more AI
Once I felt confident with the codebase, I submitted a PR and had Copilot review it. It found several things (unused imports, logic that would swallow errors, small edge cases) that were easy to address. In fact, it had auto-buttons to just address them there, but I again often opted to go back to Copilot and work iteratively through them until the PR was good.
As I actually got to playtest the CLI, I realized I needed to include some pipelines in so I added a phase for a CI/CD pipeline to have the WASM and CLI built as GitHub artifacts!

Next phase
As I was adding an additional phase, “Volumetric Repair.” I realized the agent forgot to update the WASM crate even though it had made breaking changes to the API. I had included it in the spec to check that the WASM crate built successfully, but in the end, it decided not to fix the crate and instead just document a breaking change… It was lazy. Even though I had play tested the CLI and saw it was working I overlooked the WASM build… This was caught in that CI/CD pipeline, even though I didn’t think to test the WASM locally during that iteration. So building that out early helped me detect issues I didn’t think to check.

I repeated the same methodology for the later phases and now have a working CLI (Linux/Mac/Windows) and WASM that can do basic repairs. I’ve even been able to help some people on Discord who had broken meshes that current solutions couldn’t fix!
So what?
If you’ve read this far, you might be thinking, “Great, it worked for you… so what?” I’d say the project itself is just an example of a workflow that’s been working for me, and I wanted to share it and hear input from others.
The main things that I’ve found helpful with AI tooling are:
An initial conversation with an LLM can help solidify the idea and plan. Both for you and the coding tools.
Create an overall guidance doc (agent_instruct) that all of the other coding tools can use as a basic reference for the project architecture, coding style, frameworks/languages, and general guardrails.
- Use the initial conversation to help seed that document
Get down into the nitty-gritty of each milestone with SpecKit and clearly define what you want to accomplish. Use your overall guidance doc as context when generating specs.
Provide the test cases yourself or use real-world examples that can be tested.
Use a large coding AI (Claude CLI, Codex, Gemini Pro 3) to actually implement the spec you defined.
Review the code yourself. Make sure the tools didn’t leave any unwanted or missed requirements.
Run the same commands and test cases. Don’t believe it ran all of those for you.
Make sure it updates the artifacts too.
Use Copilot or other small interactive models to troubleshoot.
Play-test the output, ensure that the tool produced what you wanted
- Hold back some test cases for your own use to ensure the solution wasn’t hyper-optimized for the test cases.
Use PR’s as a final check with Copilot reviewing the entire codebase.
Build CI/CD pipelines early that will alert you of missing or failed items.
You are part of the process… Every process. Make sure the tool works for you.
These are just general guidlines that I use in my flow and I’d love to hear from you how you are utilizing these tools and what processes work for you! Hit me up on my socials to engage.
if you would like to try out MeshRx it’s now available at https://meshrx.magician.dev/, Mac app coming soon.